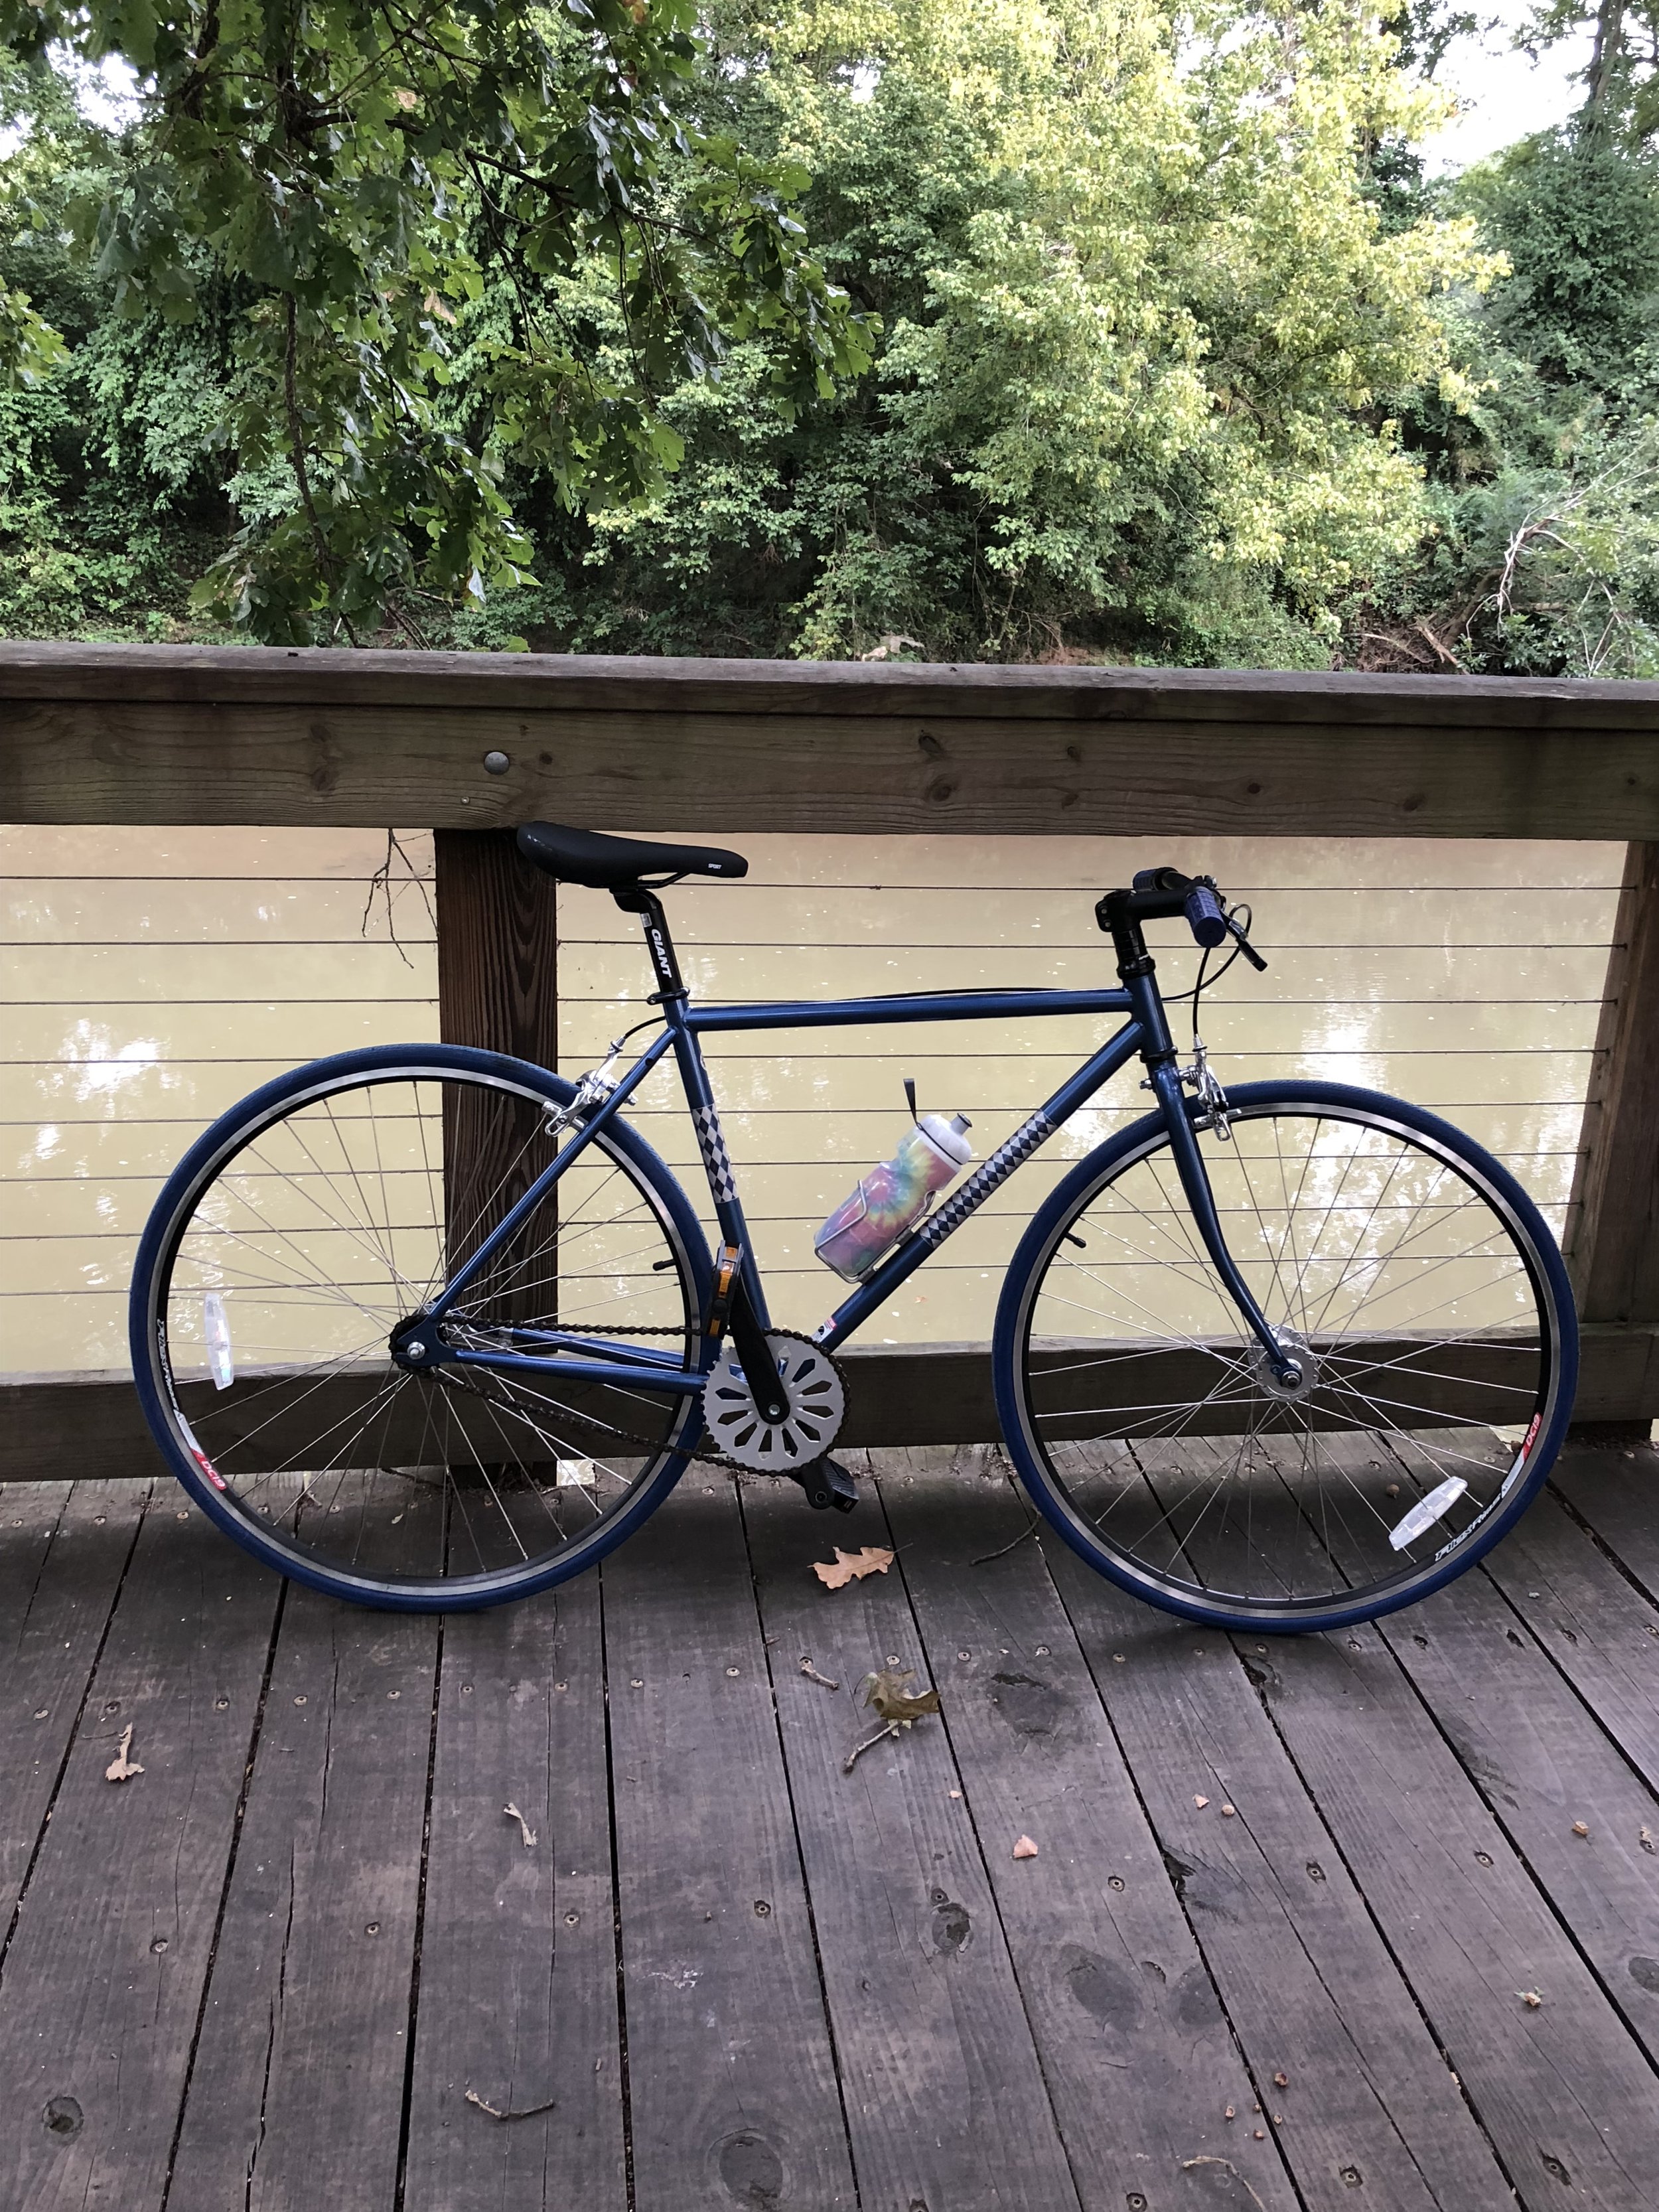
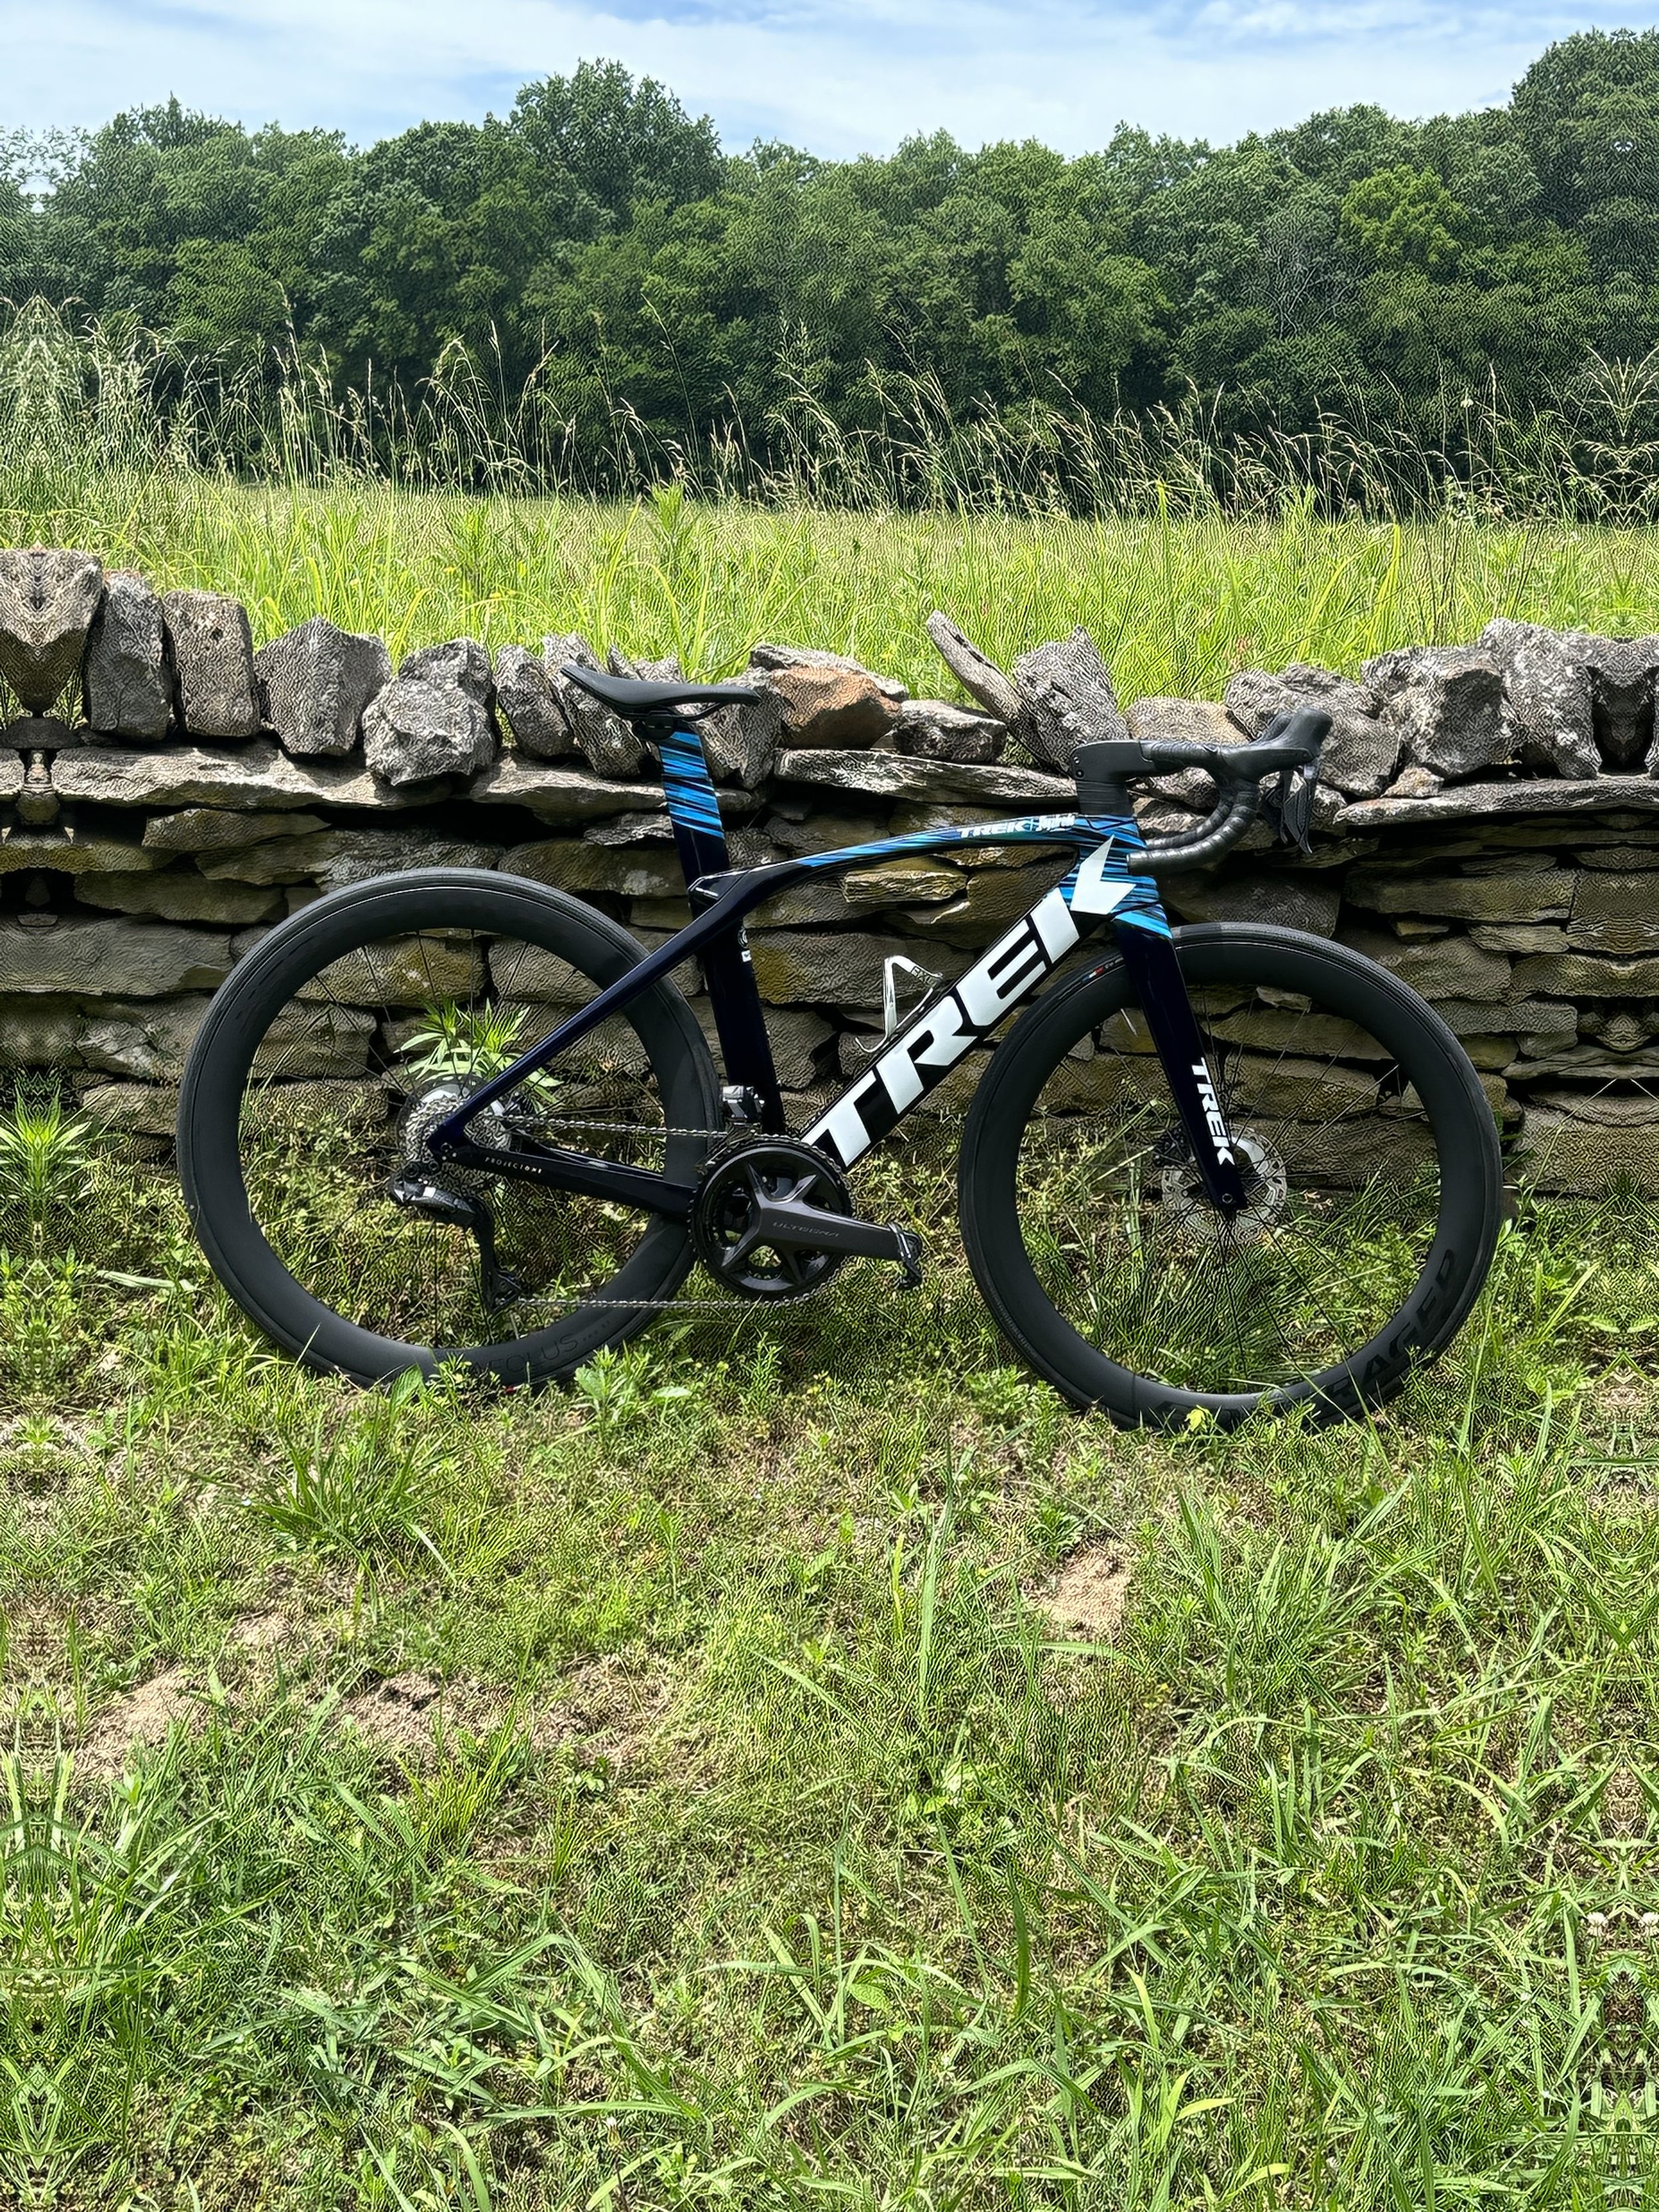
Anyone who has watched the GCN Show can immediately point out the errors in my photos below, and I never thought I would say this, but I am a bicycle photo snob in addition to just being a bike snob. I even started an entire instagram page dedicated to photos of bikes (bicyclesnearroads). Let’s walk through what I do to try to get the best photo possible of my bikes.
Let’s start with the most basic thing, lighting. When I start a ride looking for somewhere to take a photo of my bike, I am looking for the angle of the sun. There are a lot of fences and walls on my typical route, so I usually figure out which side of the road is going to have the sun facing toward it and use that side to take the photo. I have also found midday is the best time (if it isn’t too hot) because the higher angle of the sun helps to minimize odd shadows. The best sunlight I have probably ever gotten was with my old Madone in the picture on the left.
Once I find the spot and the sunlight, I like to take off my water bottles, because they do typically clash with the look of my bikes, especially if they’re a different color. I always have water with me, but you will almost never see it on my bikes in the photo, except some from before I considered myself a professional bicycle photographer.
Then, I get into the things you will hear if you’re watching the GCN Show, which include lining up the crank so it is parallel to the ground and making sure the wheels are straight. Another one I have picked up is lining up my wheel logos. My newer try bike has Enve wheels with white logos, and I learned with one of my earlier photos of it that it is difficult to get them right. I also found that the logos on those wheels look best when lined up horizontally.
Finally, I like to keep it fun. I have multiple bikes, so I like to get photos of the really nice road bike, and also of the single speed bike I used to get to campus in college (and the cool tie-dye water bottle).


