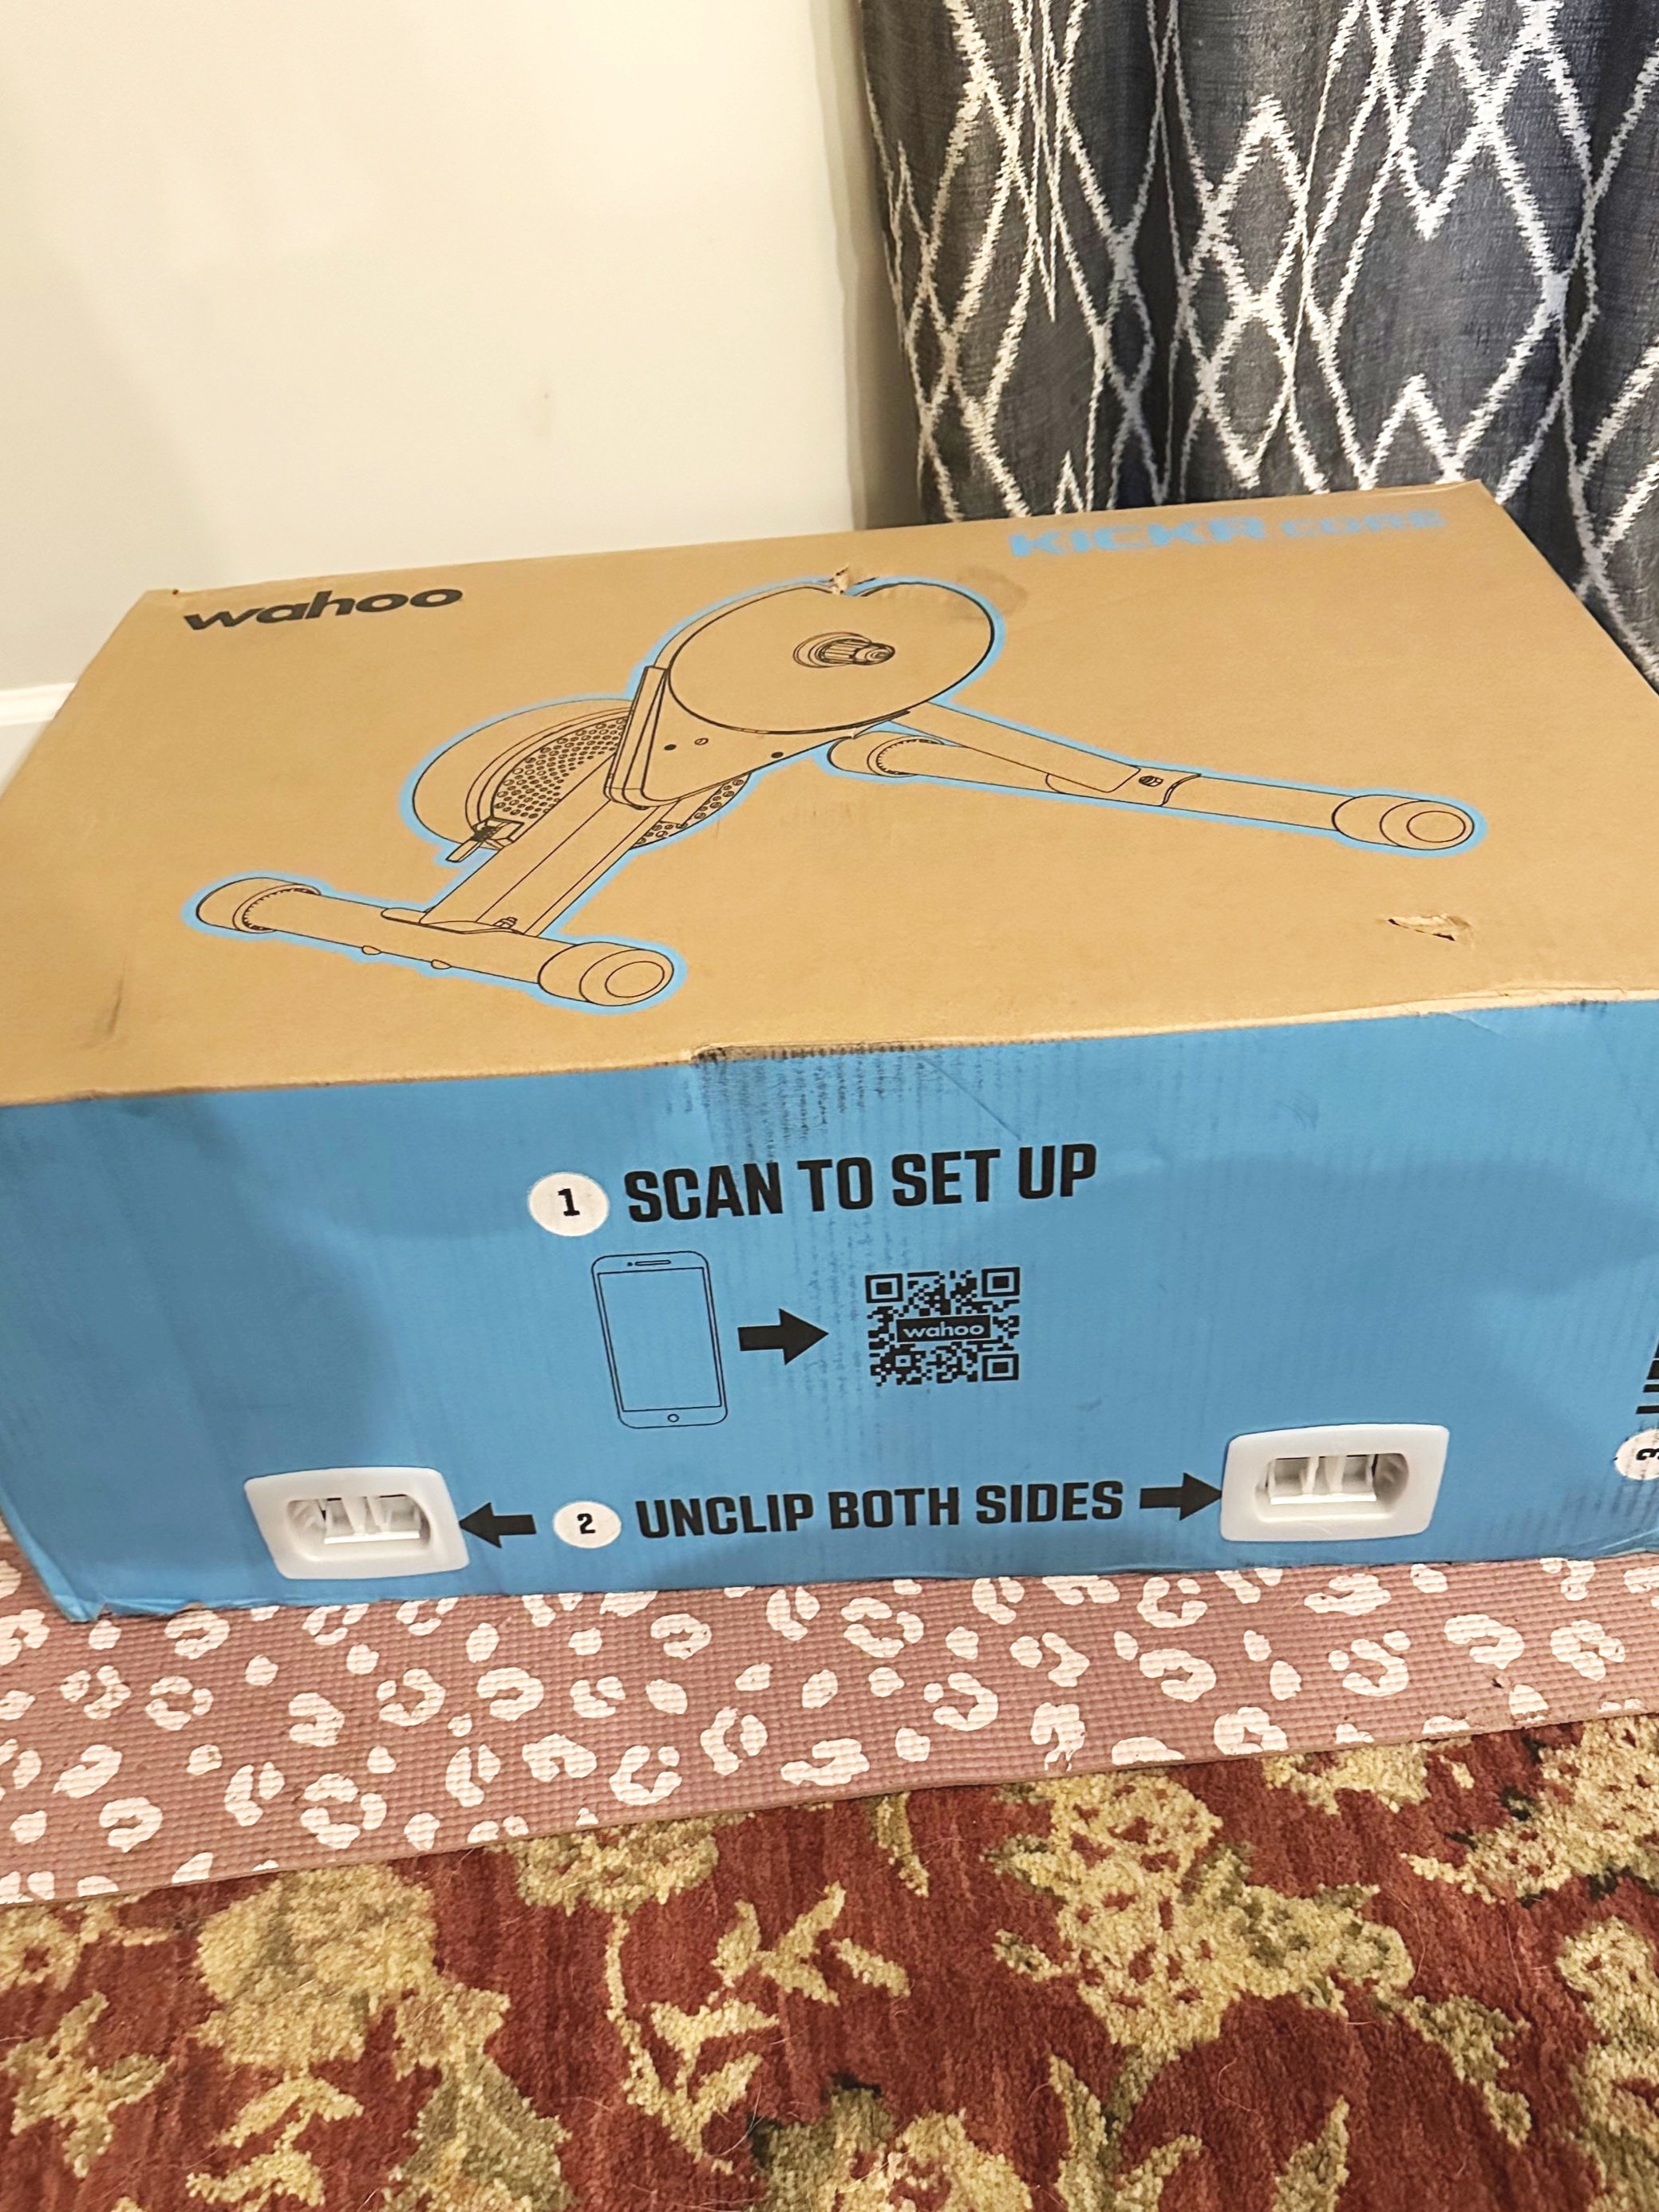
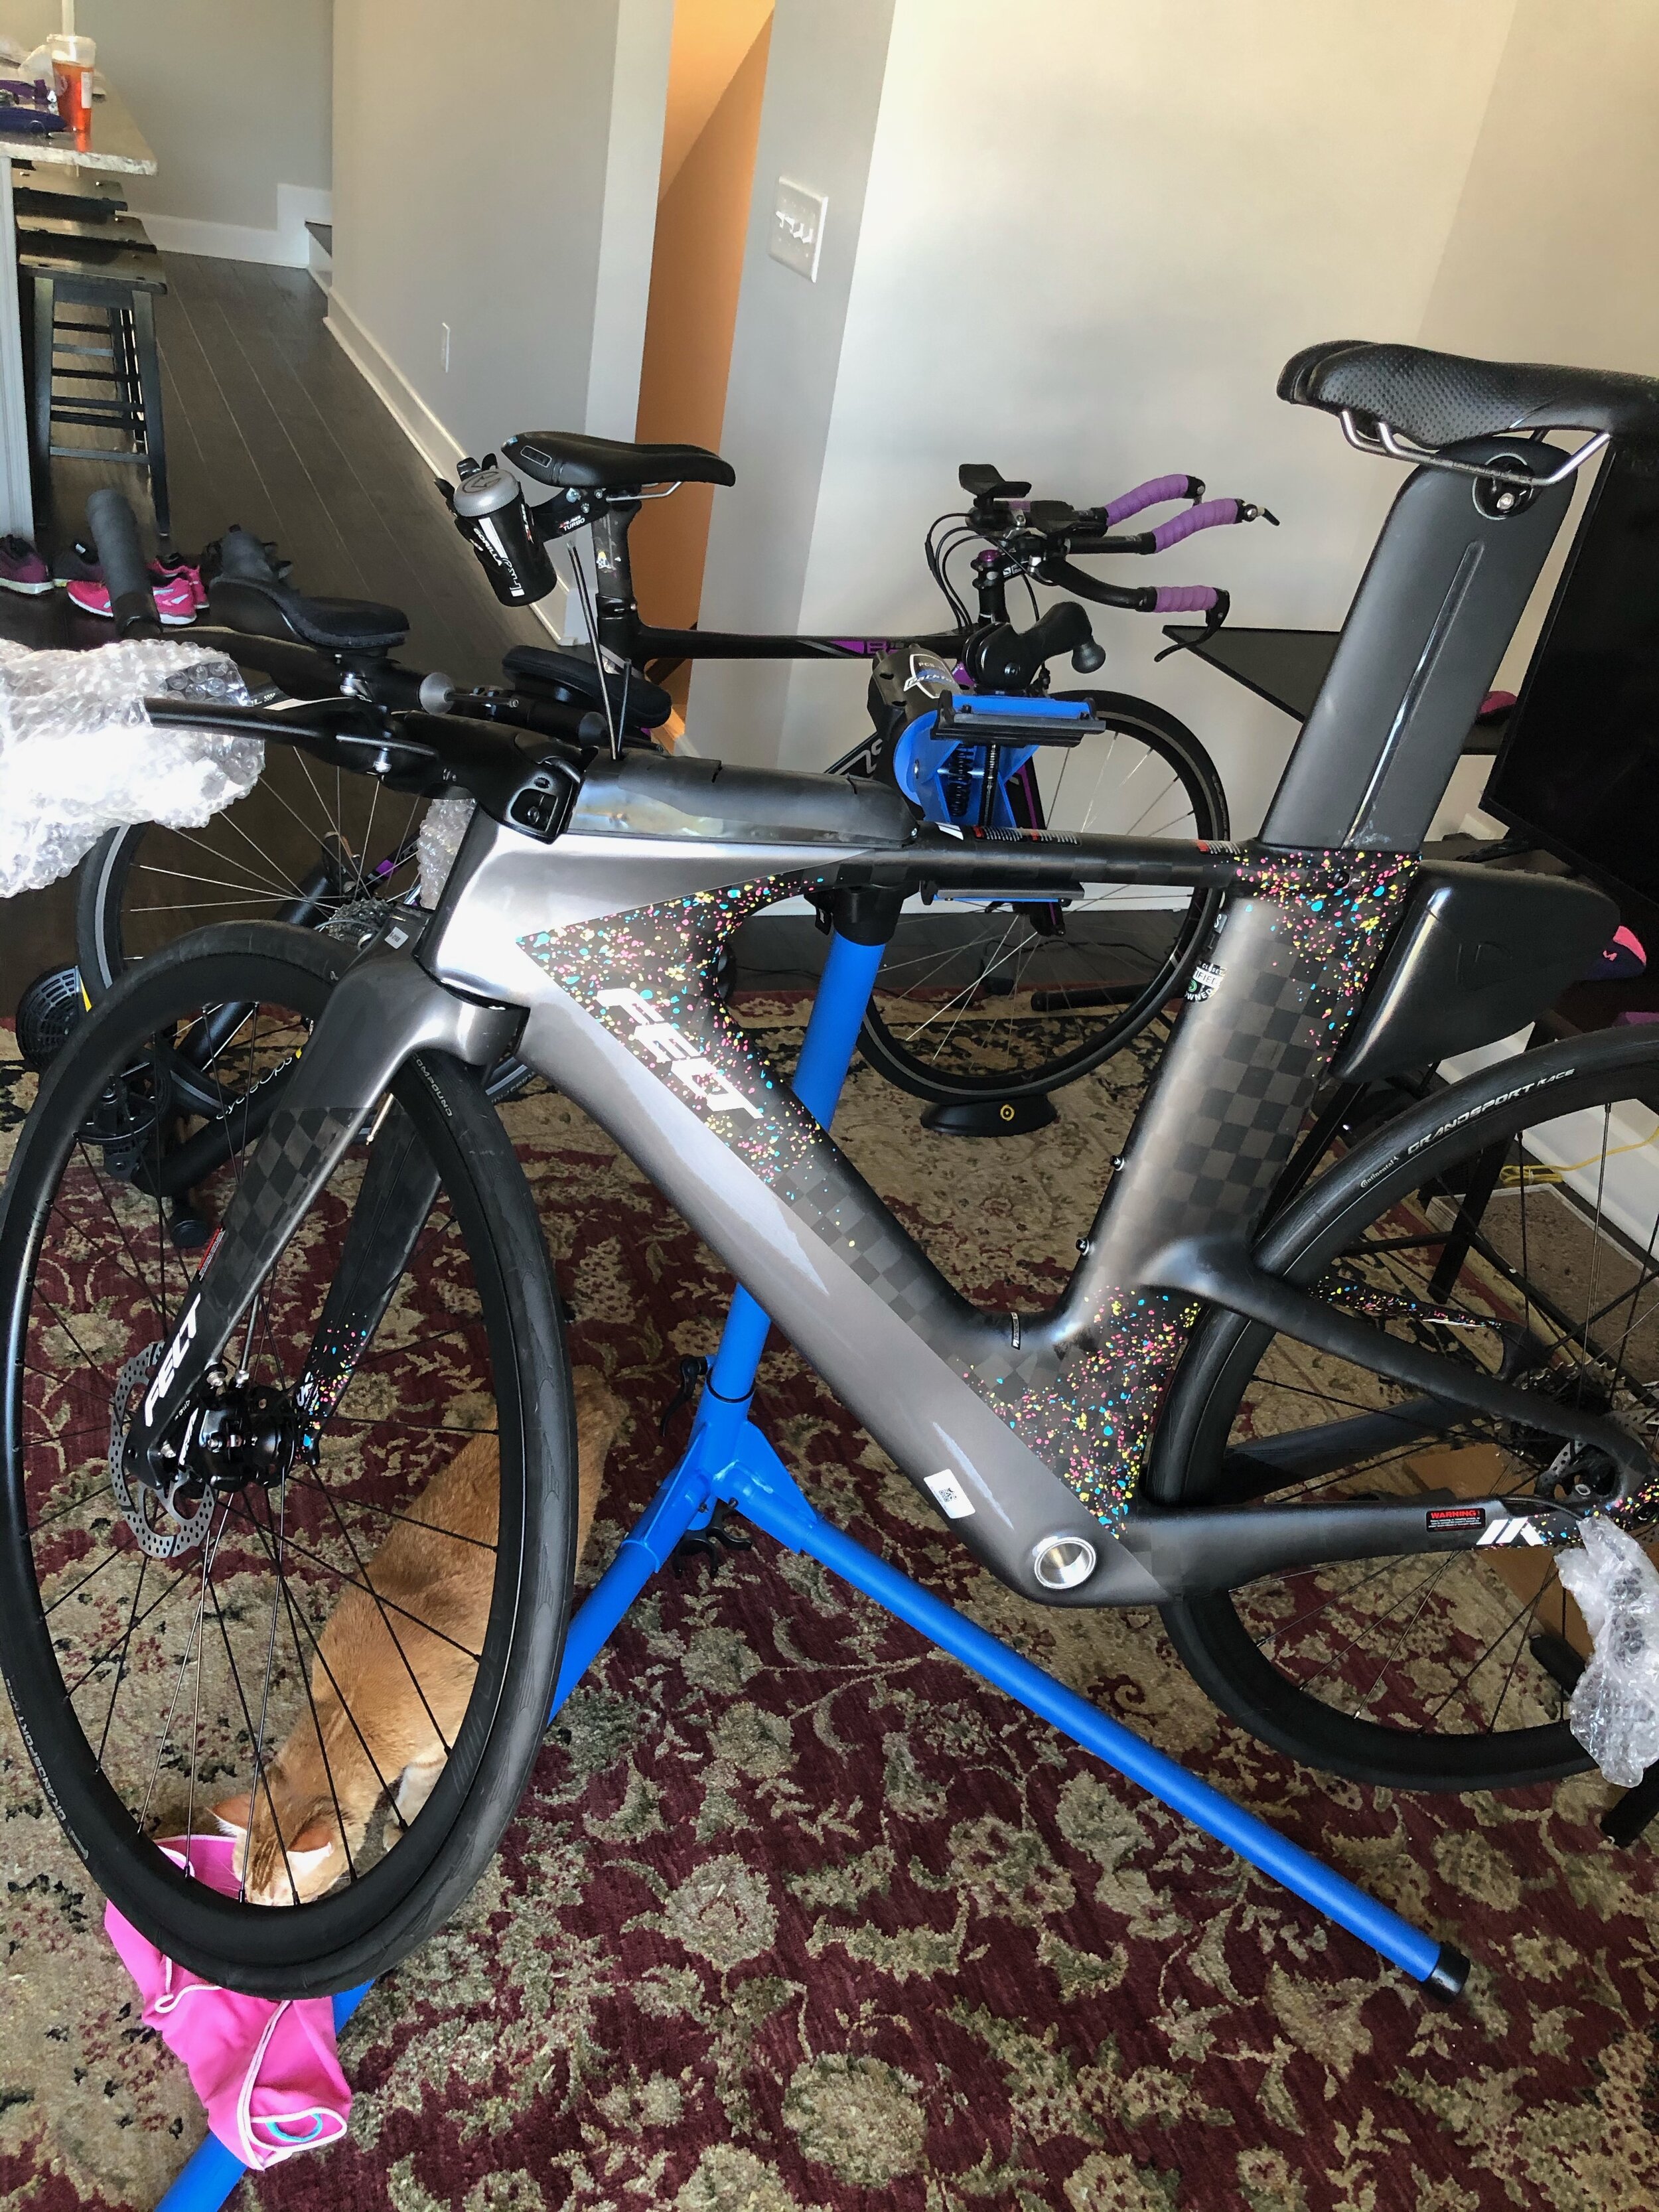
I made myself get on the bike the same day I built the new Kickr Core. What would be the point of a new trainer if I did not ride it immediately?
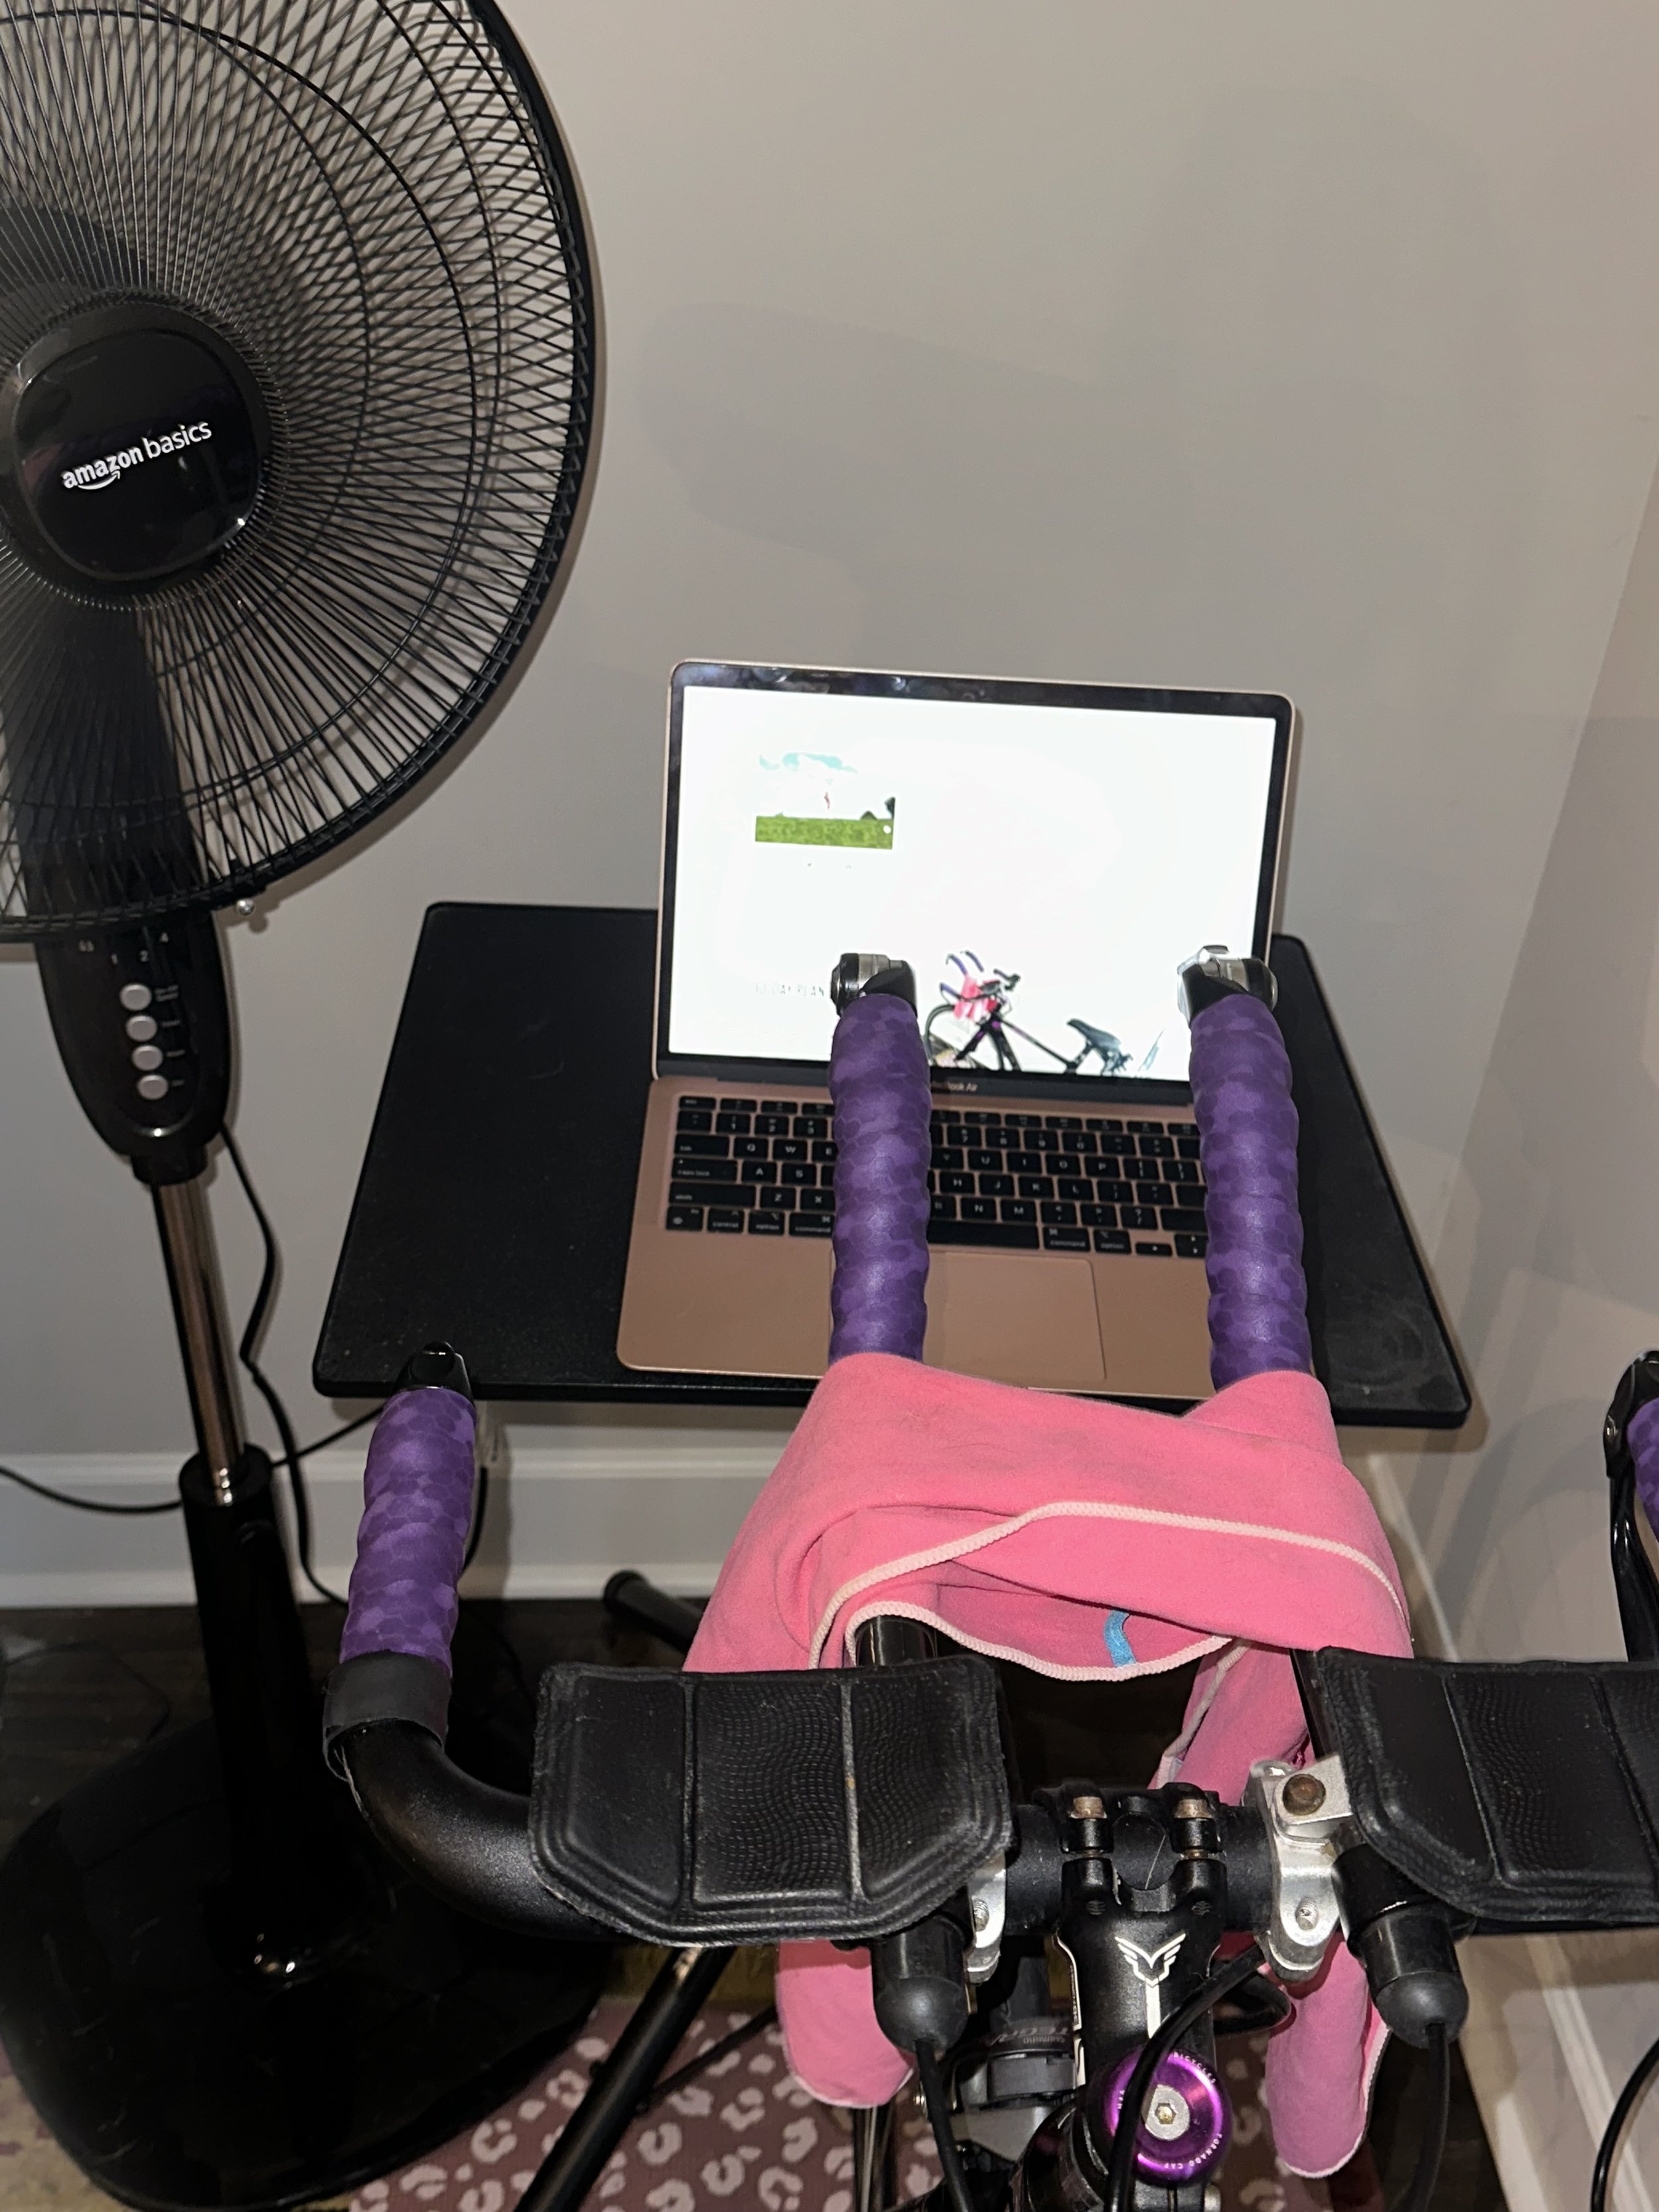
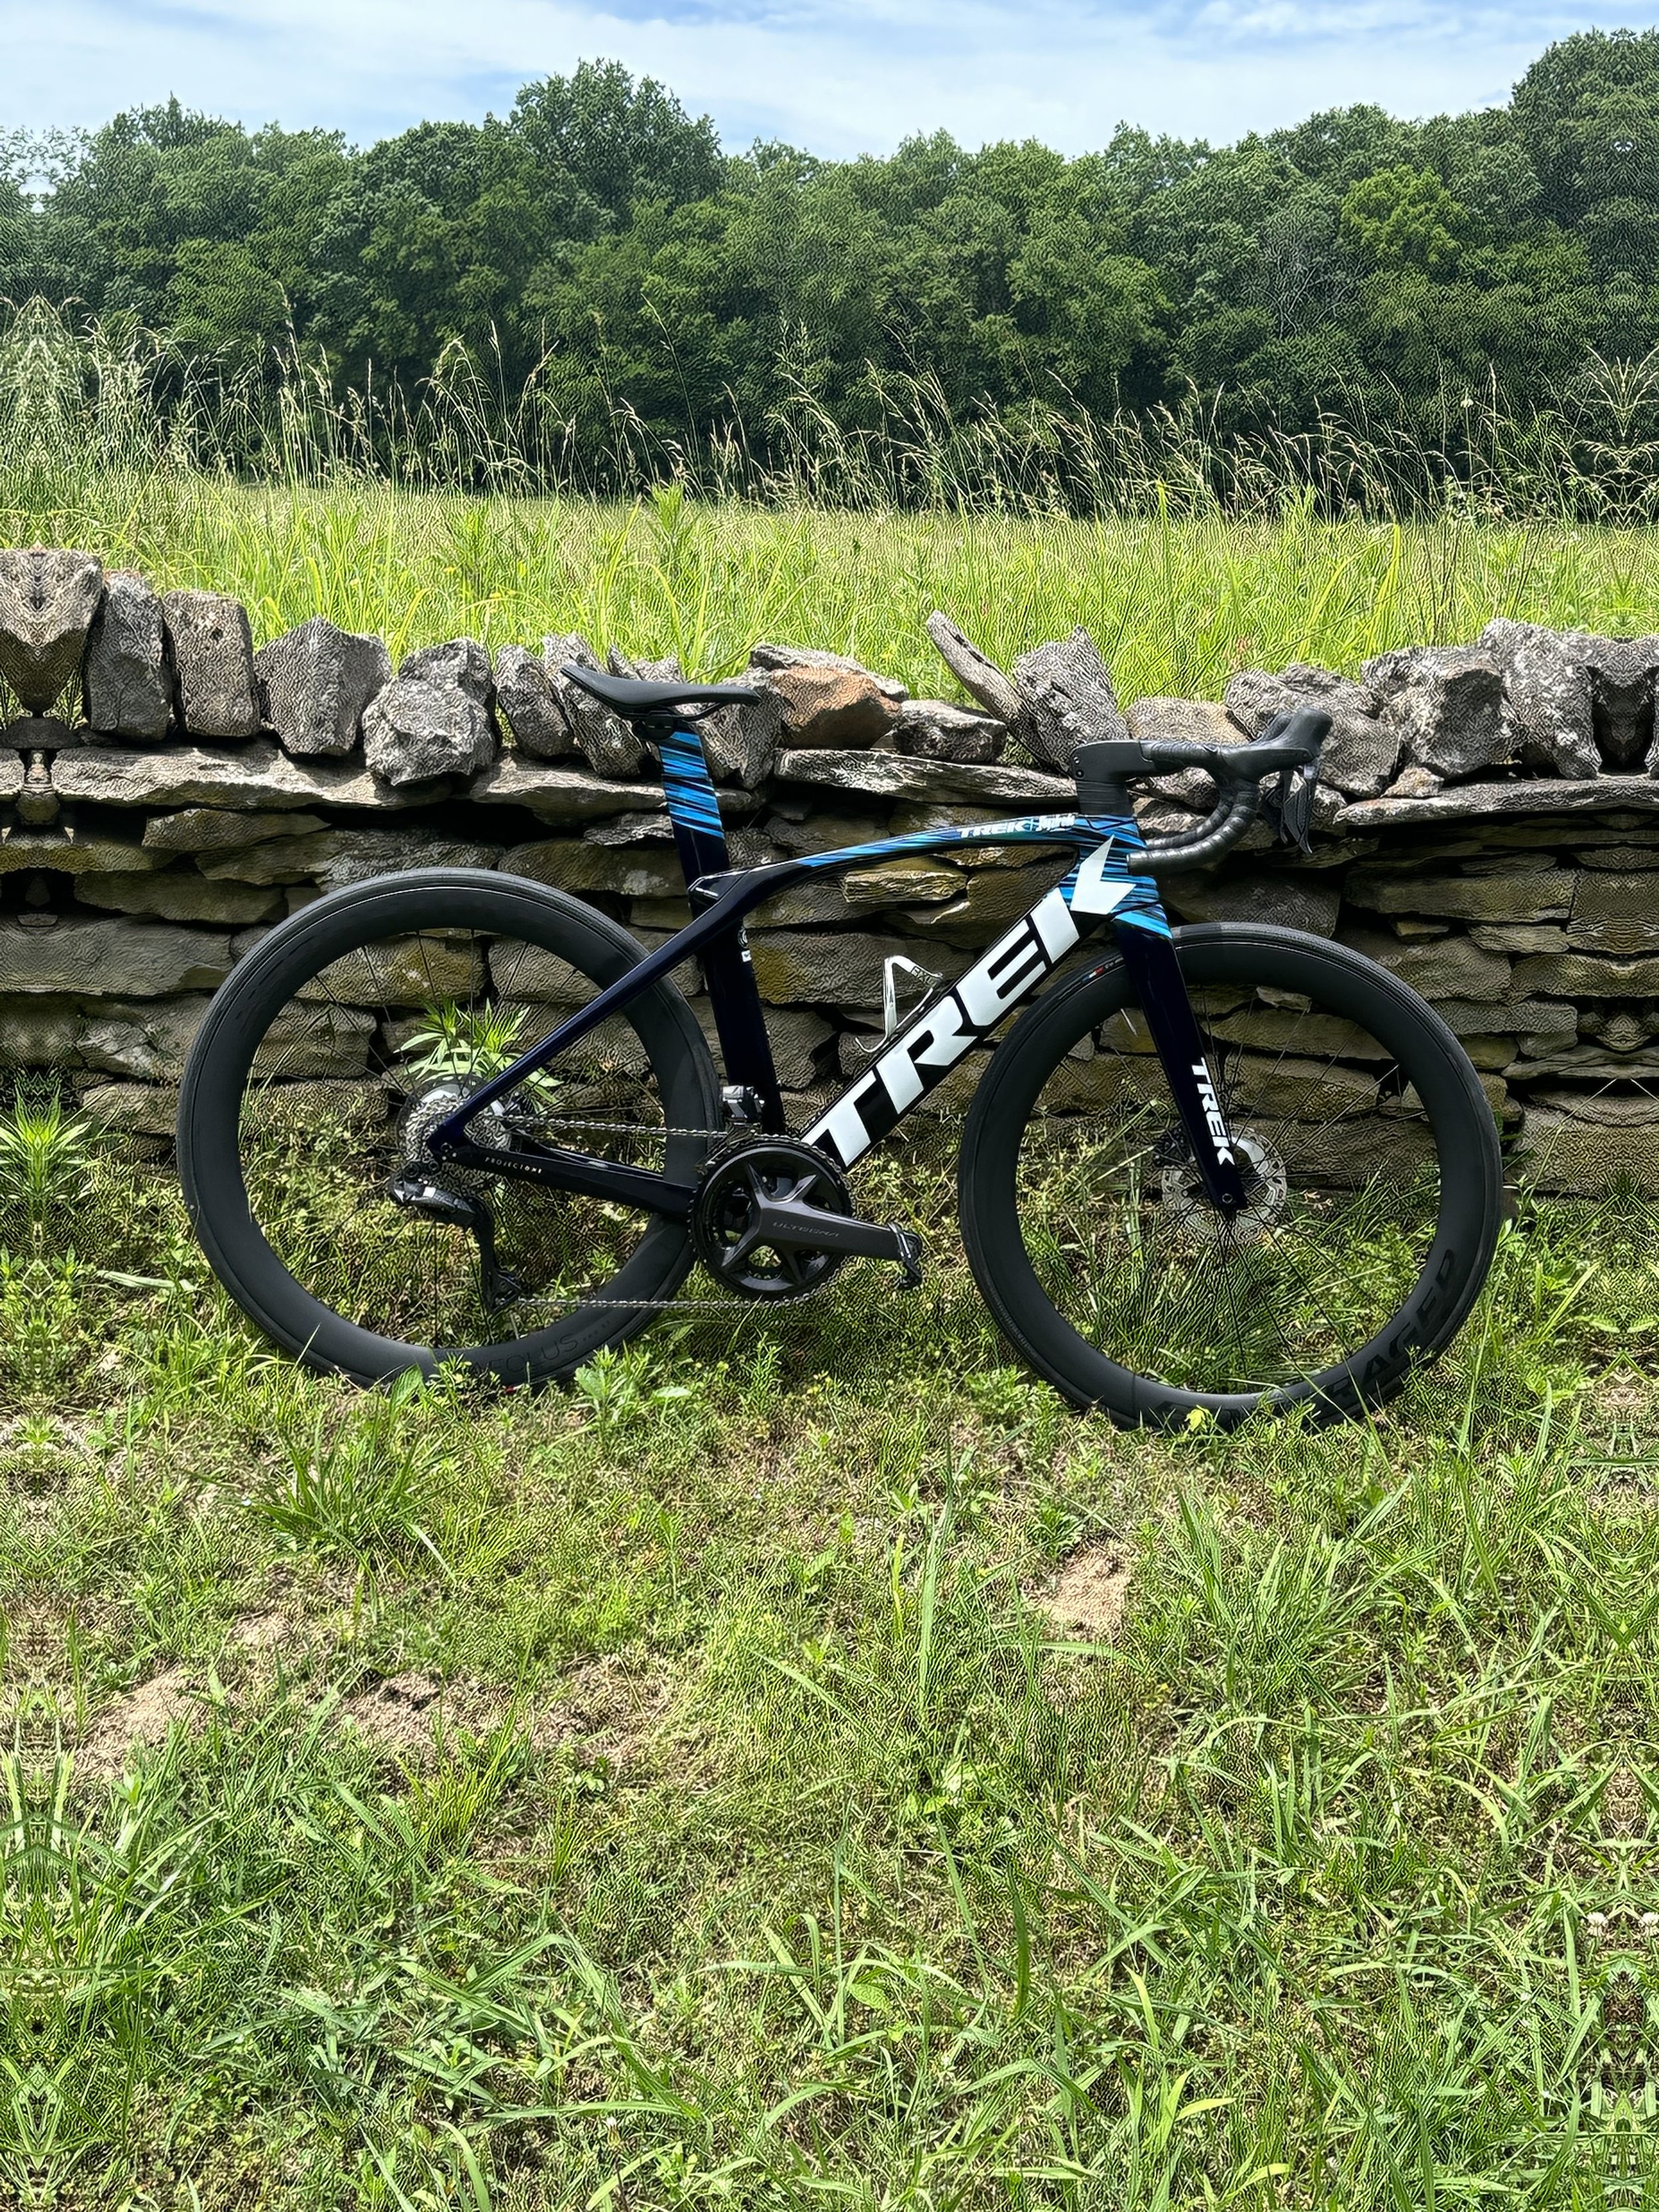
Current Zwift Setup

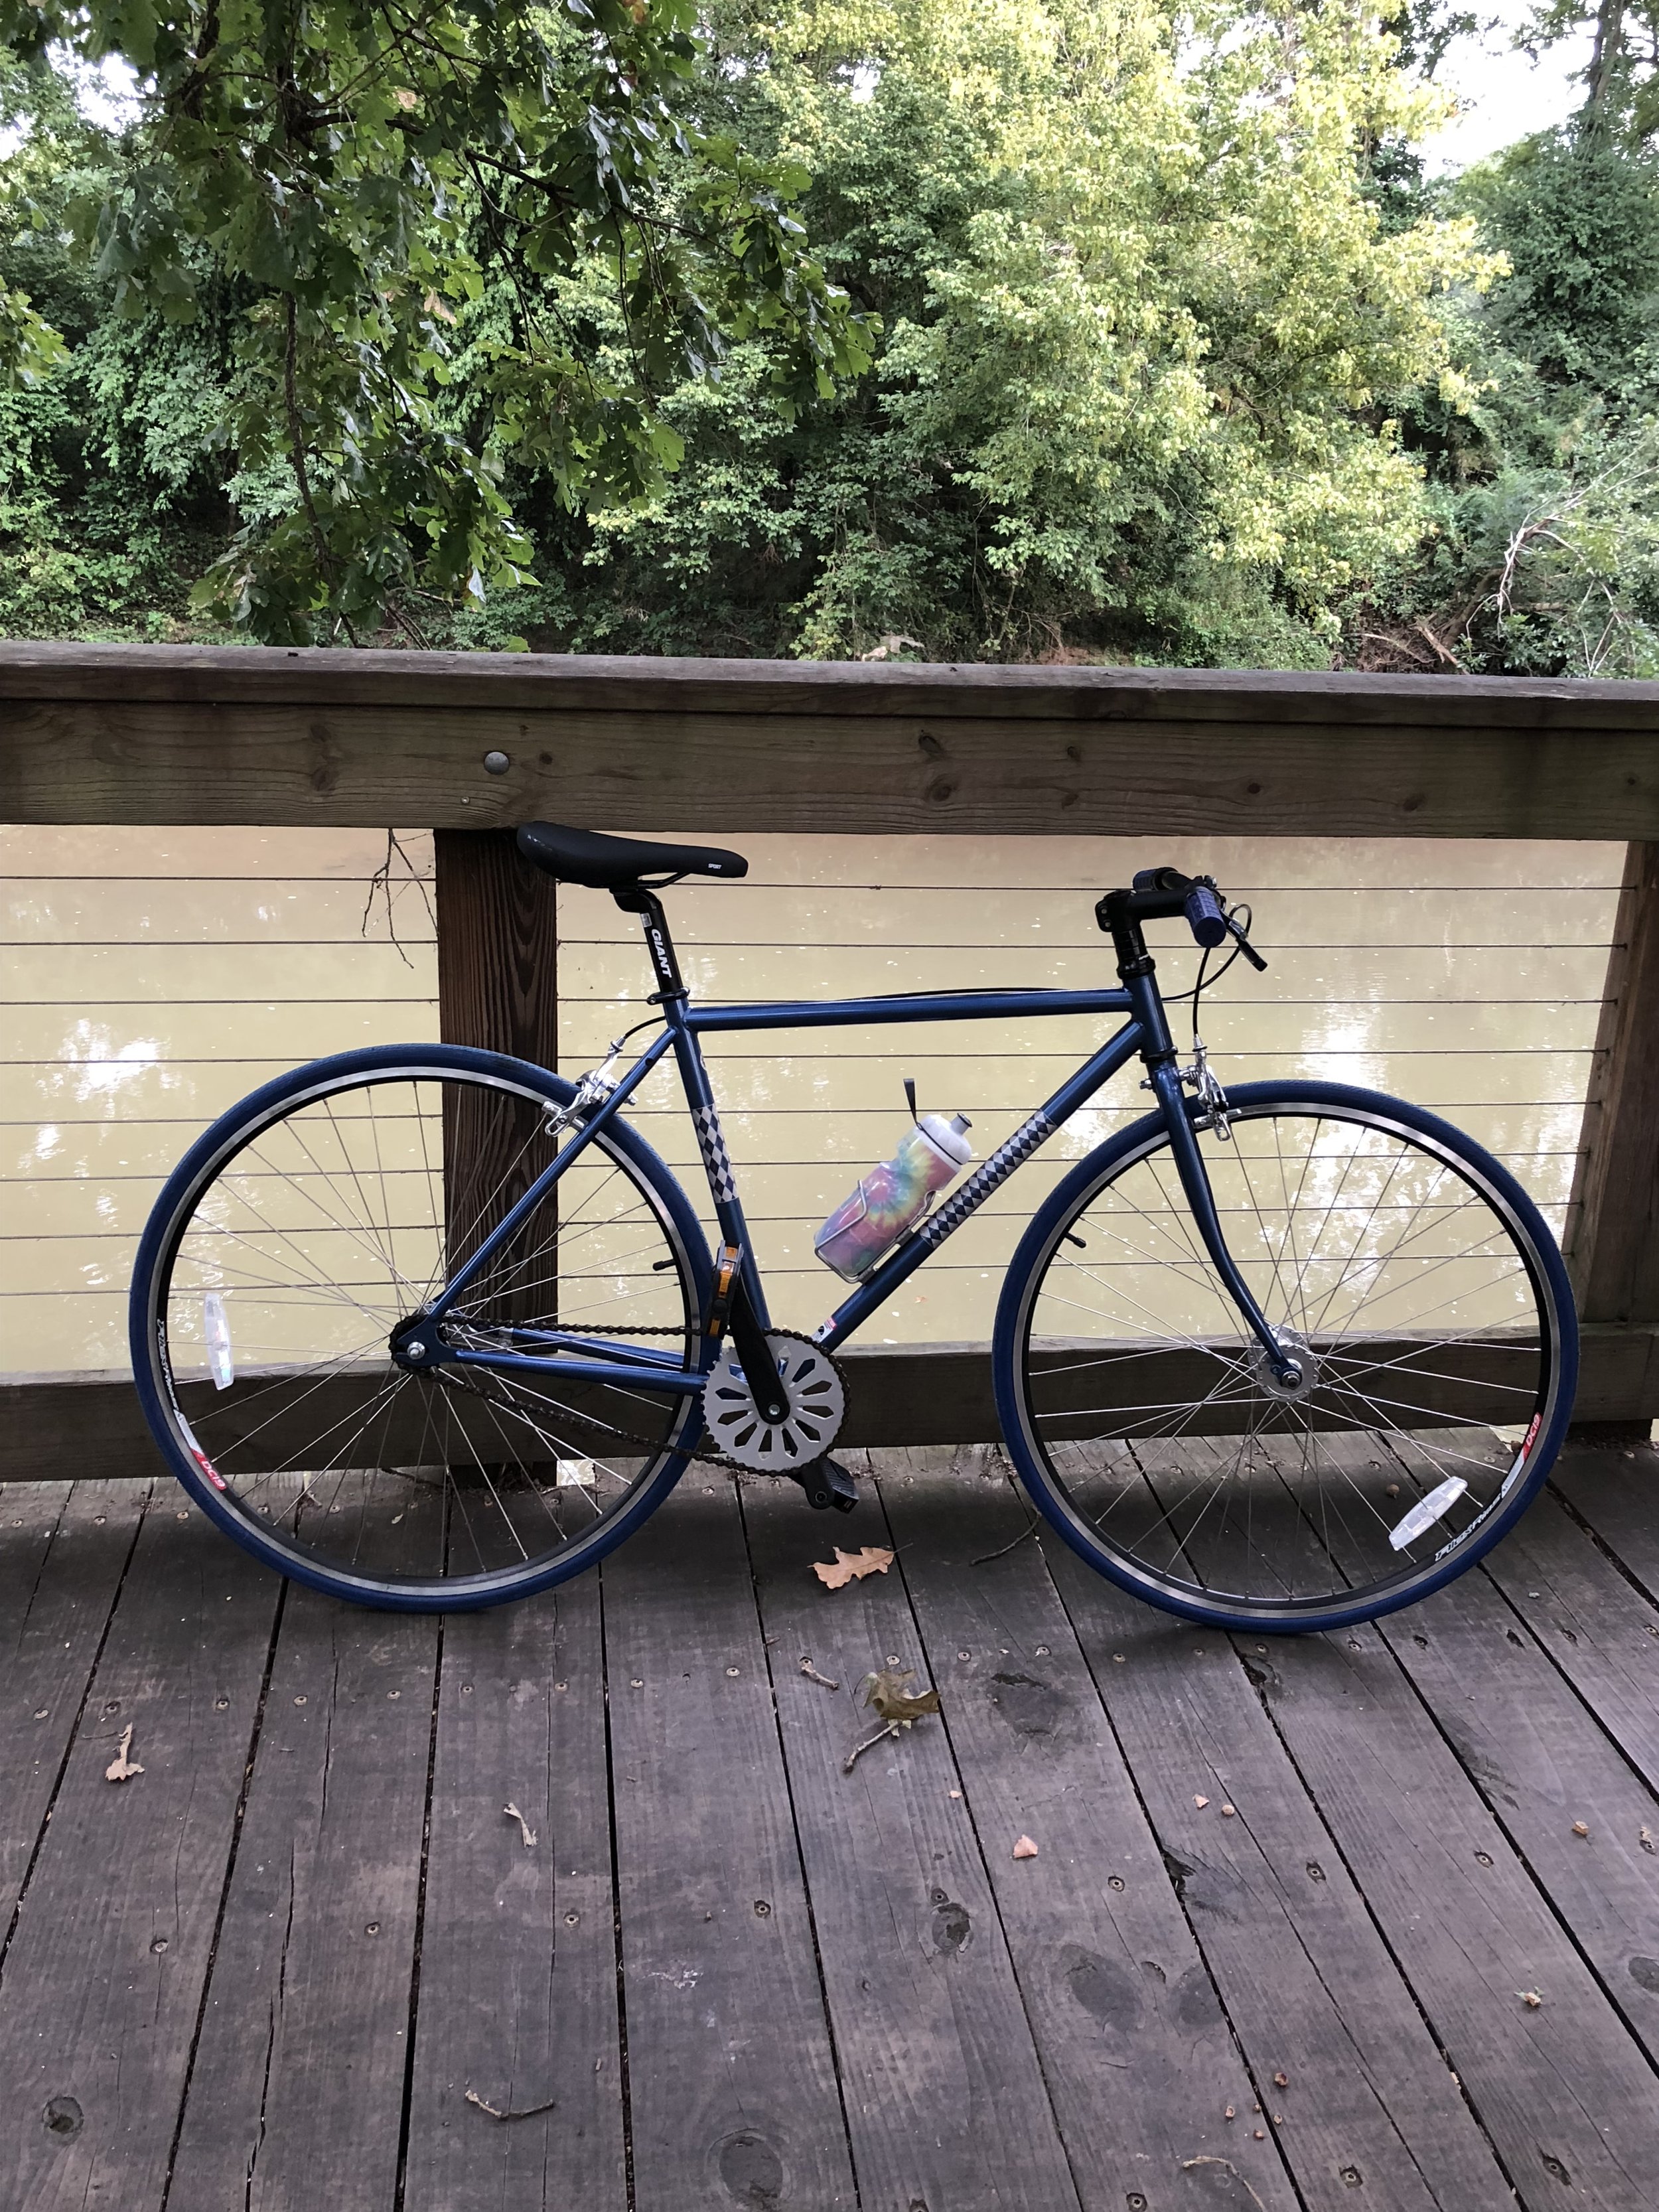
2020 Zwift Setup
The first thing I noticed was that there is no need to calibrate the bike. I had to do a quick search to double check, but apparently it does calibrate continuously, which is much more convenient than essentially having to re-calibrate the Magnus every time because of tire pressure. I also ran into a number of other issues when calibrating, so it is nice to not have to worry that a calibration is going to hold up a workout.
Next, it is quiet. I had a customer on the Kickr Move at work a couple weeks ago and was reminded of how much quieter the direct drive trainers are. I usually split screen my computer and have YouTube or another streaming service on one side and Zwift on the other, and the thing I noticed was that I did not need to have the volume as high. I am a picky sound, so I keep a low volume and adjust as soon as I move back to my couch where I am closer to my computer and do my work, so it was nice not to have as big of an adjustment when I moved.
It was also so smooth. I didn’t think I would notice that much of a difference, and I had not ridden a direct drive trainer in year, but the changes in the grade were much more realistic. There were some sections with varying grade between 1 and 5%, and I felt like it was much more realistic. On the Magnus, the changes felt more sudden, like it was just jumping from one to the next, where this felt a lot more like some of the hills I ride in my area.
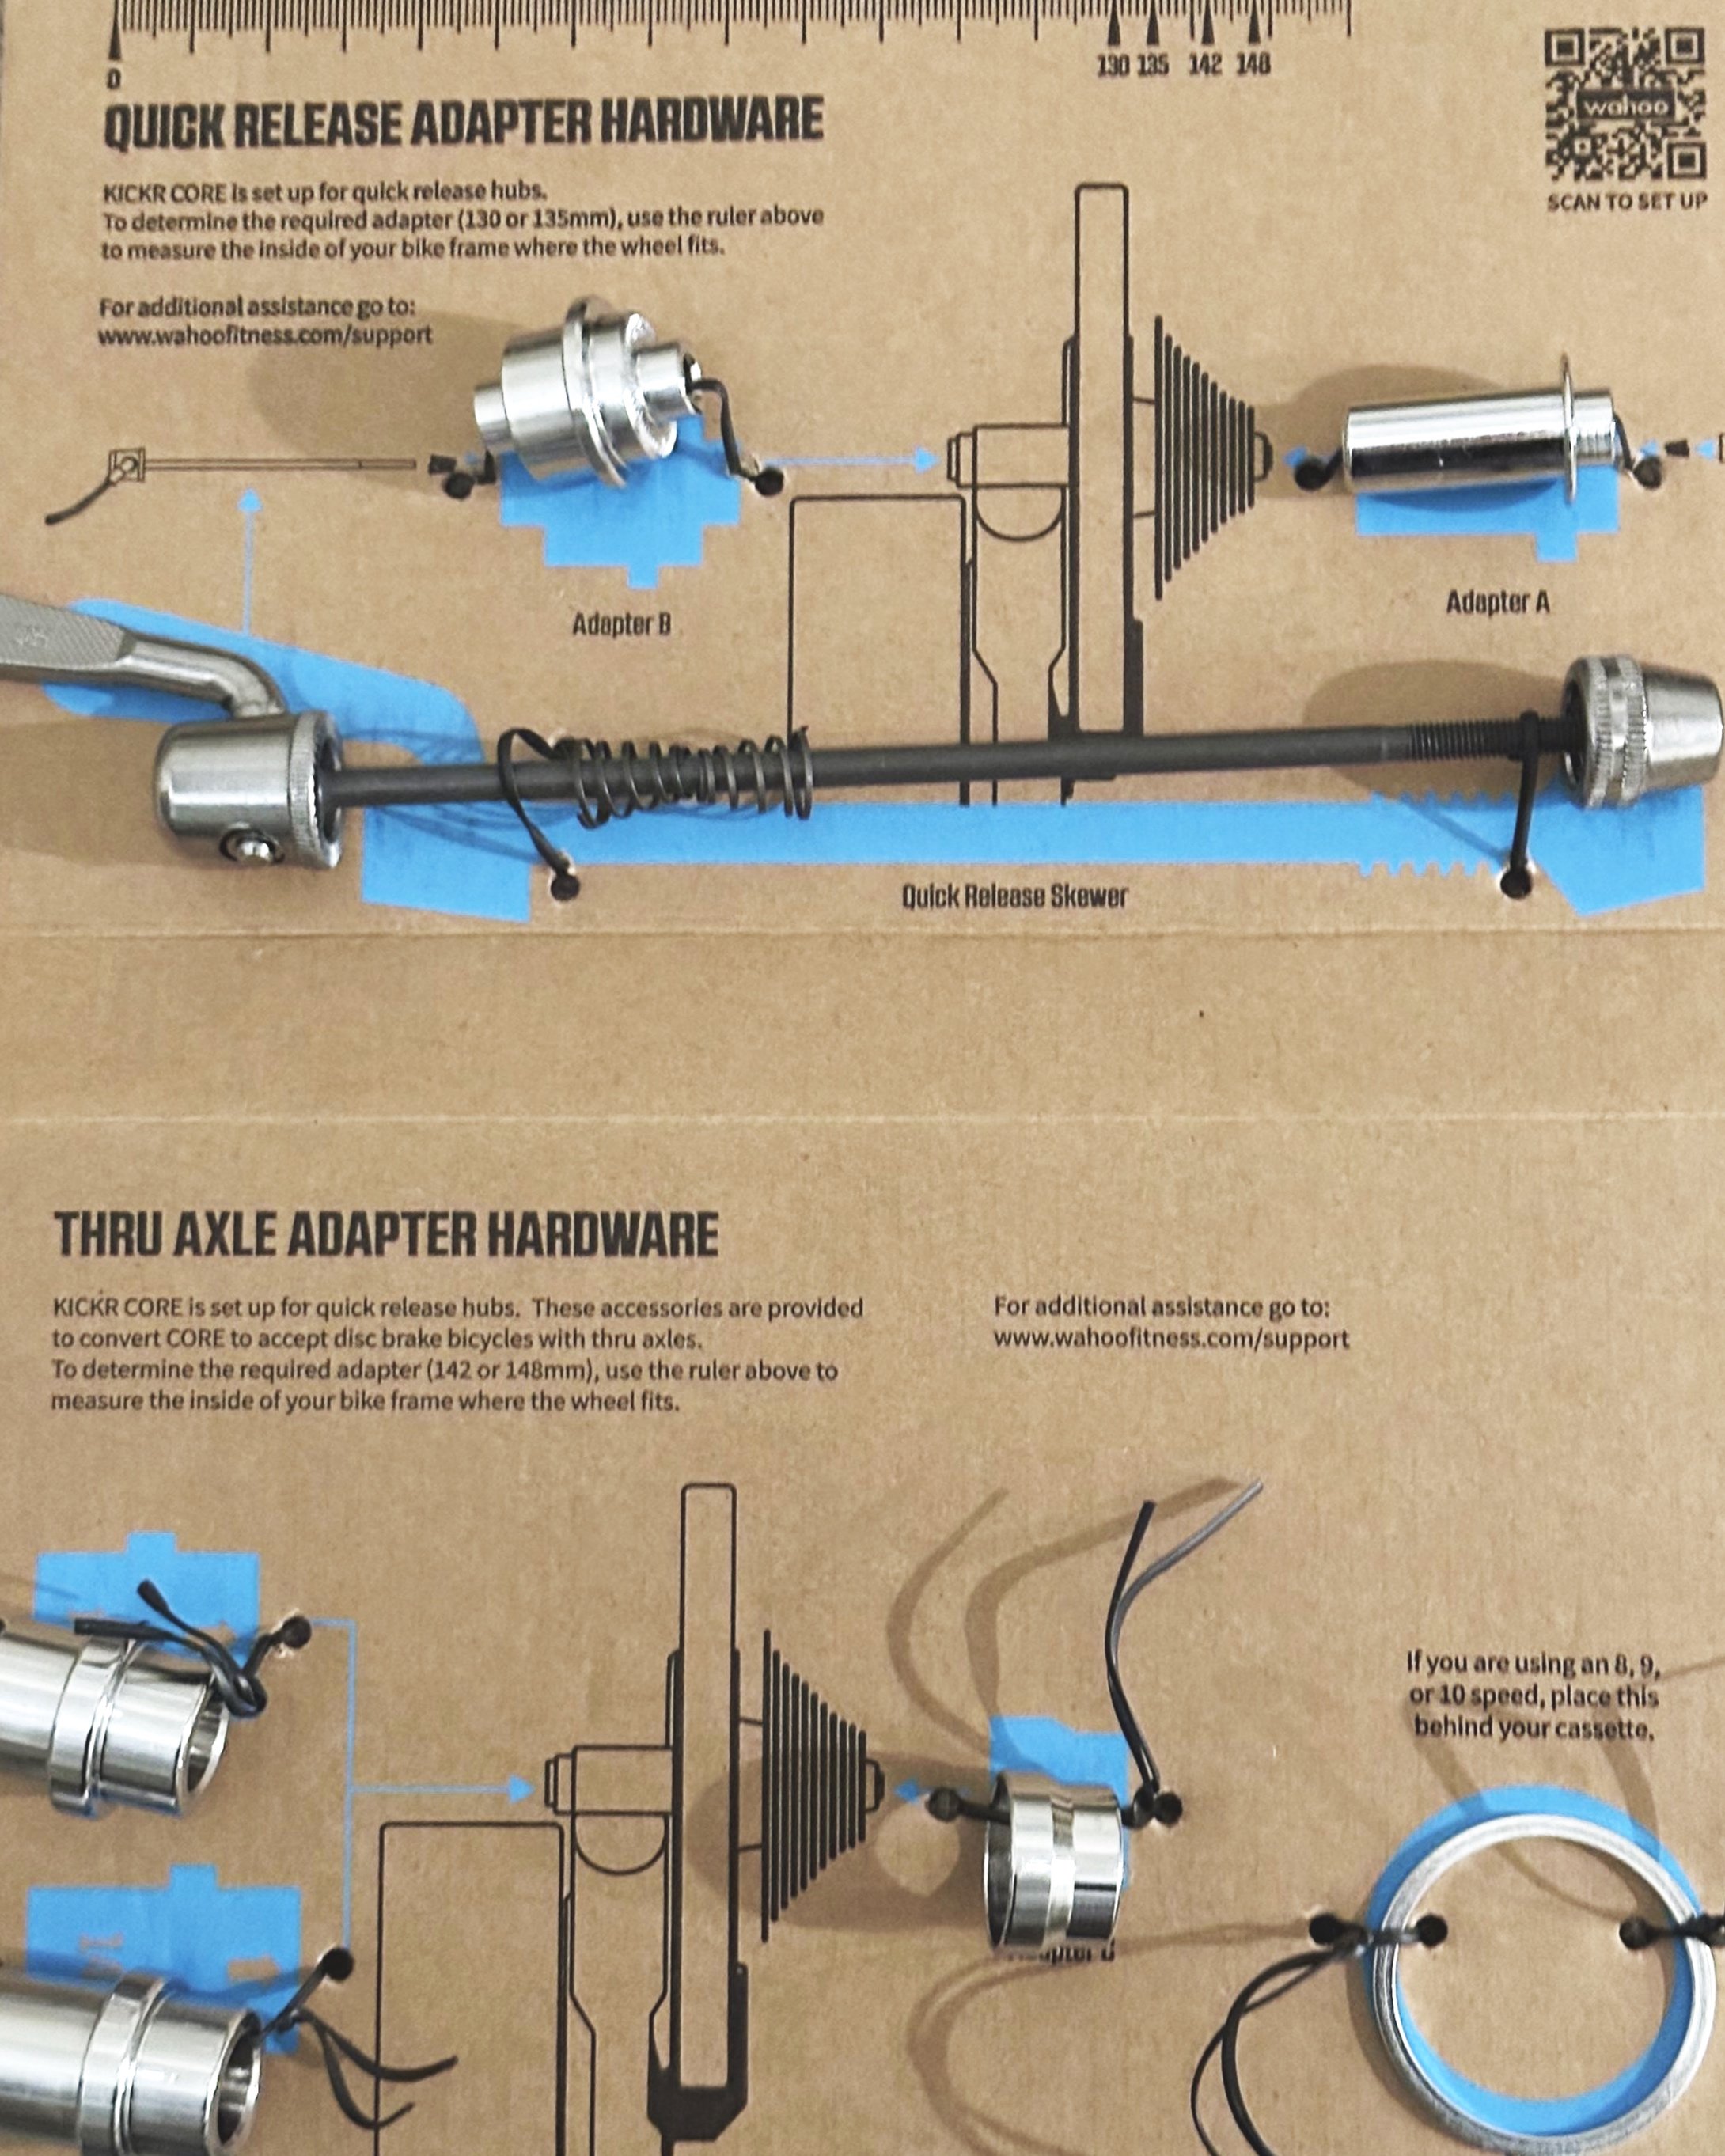
The one negative that isn’t really a negative is that I now need to adjust my derailleur. Any time you change wheels, even if you are using the same size cassette, you may need some adjustments. I have one of two problems. First, I just need to adjust because of slight differences with the trainer. This is what I am hoping for, and I can adjust easily. The second is that I need a new chain. The cassette I put on the trainer is the newer of the cassettes in my house, because it was on my carbon wheels, so the chain was worn more with the cassette on my old wheels, and usually you go through two chains per cassette, so it is possible I need a new chain.
Key takeaways from this first ride.
Direct drive trainers are quieter
The ride is more realistic
You may need to adjust your derailleur even if you use the same cassette